User report after Four Years
A good scanner for large, medium or small format film
Author Andrew S June 2013
 |
| Angophora After Fire. From Original 4x5inch Velvia transparency |
Introduction I stopped using film six years ago, but have many large, medium and small format film images in my personal collection I have been re-scanning a lot of these negatives and transparencies recently so I thought it timely to report on my experience using the Epson V700 over the last four years.

 |
| V700 Overview (top) and detail (above) |
Description The Epson Perfection V700 Photo is a versatile flatbed scanner which came onto the market around 2006 and is still available new in the AUD650-900 price range. There was initially a V750 Pro version with a fluid mount option but I have no experience with this. There is a theoretical advantage to fluid mounting originals for scanning but the process appears to be messy and tedious and the scanner does a good job with standard dry scans anyway.
The V700 Photo can scan original prints or other documents up to A4 size. It comes with a set of film holders for 35mm film in strips or mounted, medium format rollfilm in strips and 4x5inch large format sheets. It can manage monochrome or color originals as print or document, positive transparency or negative.
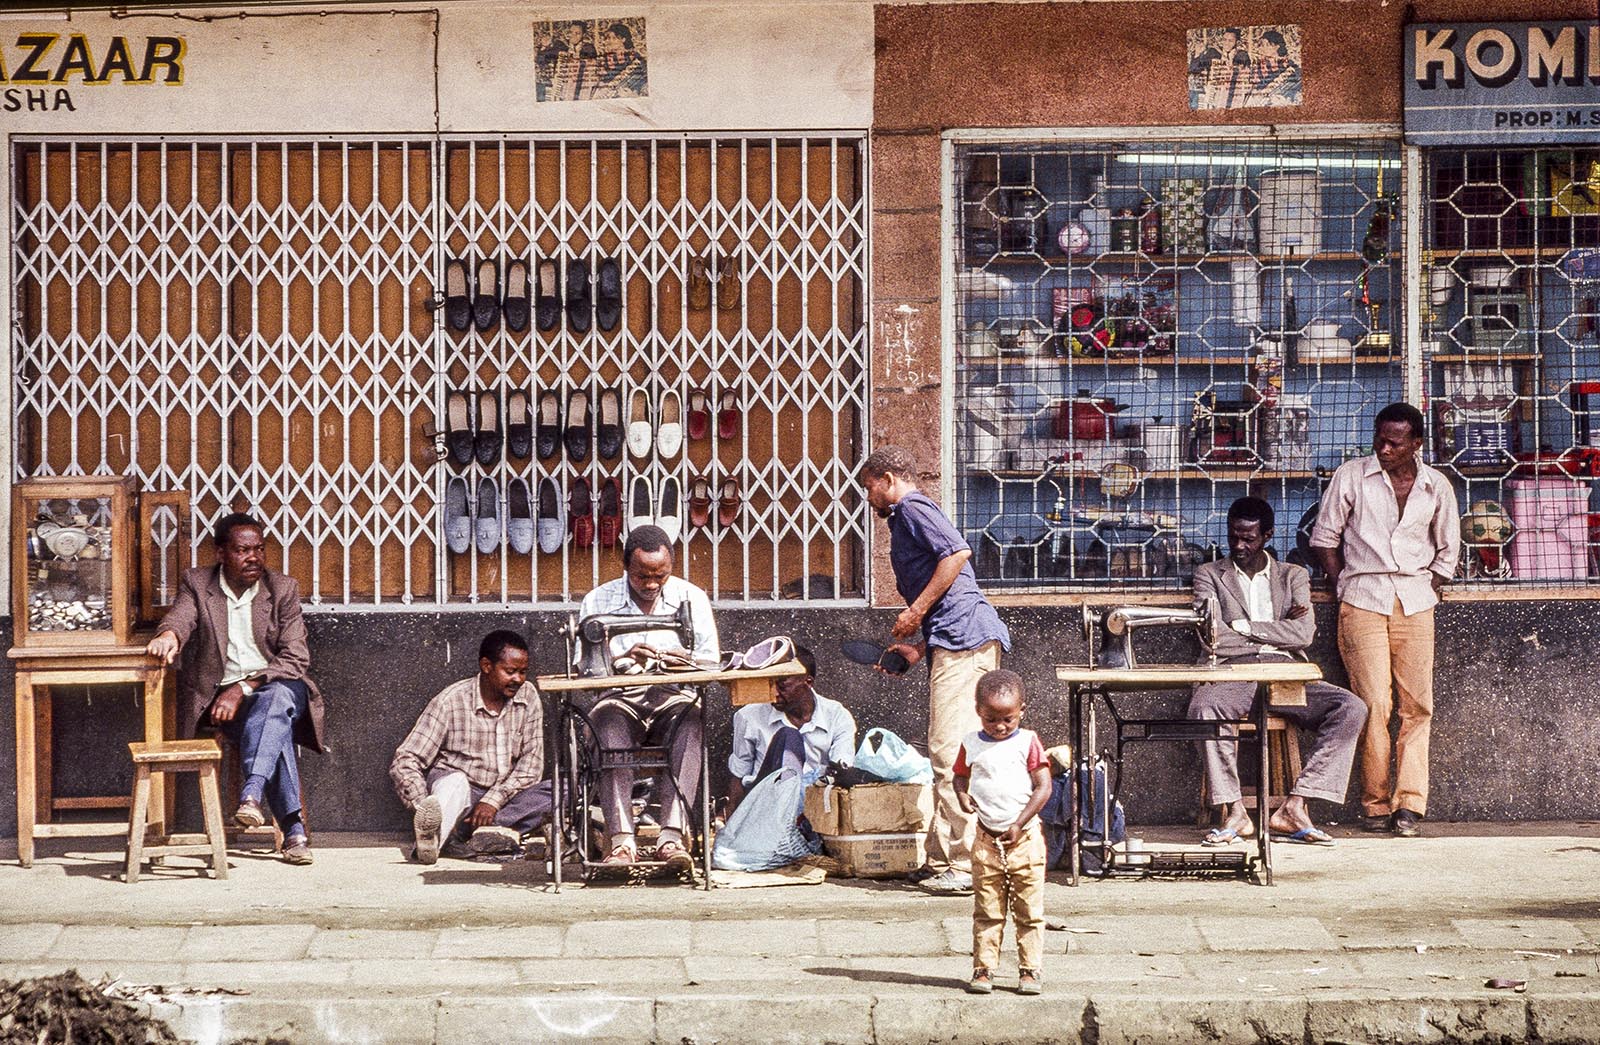 |
| Arusha Street Scene. From 35mm positive original |
Scanning software For my first two years with the V700, I used Silverfast [SF] scanning software. But when I upgraded my computer and operating system that particular version of Silverfast software was no longer compatible, so I went back to using the basic scanning software package supplied by Epson. I discovered this worked just fine and gave me scans of equal quality to those made using the rather expensive SF plug in.
 |
| Hyde Park Sydney. From a 35mm TRI-X original |
Working with Epson Scan I spent much time and effort wrestling with the adjustments provided in Epson Scan. These include a comprehensive Histogram management facility, Tone Correction, Image Adjustments and Color Palette. In addition the scanner provides Unsharp Masking, Grain Reduction, Color Restoration, Backlight Correction, Dust Removal and Digital ICE.
Then one day I had an epiphany and made some scans using "Auto Exposure" and all the adjustments switched OFF. I edited the output TIFF files in Photoshop and Adobe Camera Raw (which works just fine on TIFFs) and got even better results than before.
I accidentally discovered that I got best results by making a plain, low contrast, unmodified scan using auto exposure then doing all photo editing adjustments in Photoshop.
 |
| Tanzania. From a 35mm positive original |
Epson Scan Window A screen shot of the main Epson Scan window is shown below.
 |
| Screen Shot of V700 Epson Scan Window |
The settings which I use are:
Mode: Professional
Name: Default
Original Document Type: Reflective or Film
Film Type: Positive film, Color negative film, B&W negative film.
Destination Image Type: You get several choices here. I make things simple by using 24 bit color [8 bit per channel] for color originals and 16 bit grayscale for monochrome originals. You can select 48 bit color [16 bit per channel] for color originals but the results are in most cases not discernably better then 8 bit per channel. Selecting 48 bit slows scanning markedly and produces huge files.
Resolution:
Reflective: 300 or 600 dpi, depending on the size and content of the original.
4x5 inch large format transparency or negative: 1200 dpi.
Medium format rollfilm; 2400 dpi.
35mm film: 4800 dpi.
I find that scanning at higher resolutions just prolongs scan times and produces very large files with no discernible benefit to the final prints.
Document Size/Target Size: I just leave these at default and adjust image size later in Photoshop if required.
Adjustments: There is a row of icons with bounding boxes just beneath the word Adjustments in the scanning window. These are Auto Exposure, Histogram, Tone Correction, Image Adjustments and Color Palette. Having spent years fiddling around with these I now simply select Auto Exposure for all scans and completely avoid the rest. This is much easier and gives better scans as well.
Adjustments: Below the Auto Exposure icon is a list of scanning adjustments. From the top these are: Unsharp Mask, Grain reduction, Color Restoration, Backlight Correction, Dust Removal and Digital ICE. I switch all of these OFF. Note that USM is on by default and has to be deselected for every preview and scan.
Working this way moves all image editing into the Photoshop environment which in my experience, particularly with Adobe Camera Raw, does a better job and is easier to use than the scanner based adjustments.
Preview: I use Normal, not Thumbnail as the preview type. This allows more accurate selection of the scanning area. Thumbnail routinely crops the frame edges.
Scan: Before scanning, set up a folder in Windows Explorer or Mac equivalent to receive the output TIFF from the scanner. Align all mounted 35mm images with their long sides parallel to the long side of the scanner.
 |
| Remarkable Rocks Kangaroo Island. From a 6x7 cm medium format original |
Image Adjustment My practice is to send the output TIFF to Photoshop first, for rotation and L/R flip if required, as is often the case. I then send it to Adobe Camera Raw (ACR) for adjustments to brightness relationships, contrast, clarity etc. After that it goes back to Photoshop for the often tedious process of cleaning up dust, scratches, blemishes etc.
Results The V700 does an excellent job with all types of large and medium format originals, revealing all the information and tonal range present in the originals. Prints from large and medium format originals, color or B&W, can be made up to any size of which the printer is capable, including large mural style prints.
 |
| Avalon Beach New South Wales. From a 35mm negative |
In the case of 35mm originals I am seeing very good results from Black and White (silver/gelatin) film originals, with all the information and tonal range present in the originals being expressed in the output TIFFs. I have printed several of my 35mm B&W film negatives at A2+ size with very pleasing results. My subjective impression is that Kodak TRI-X scans a little better than other B&W films which I have used. This film also prints well in the darkroom.
The V700 apears to be less capable with color transparency or negative originals in 35mm size. These have a tendency to flaring at light/dark boundaries, lack of resolution/sharpness and a blotchy, unappealing appearance of the film grain, particularly from color negative materials. I have found that with 35mm color originals heavy sharpening adjustment is required. In ACR I need to push the Amount, Radius and Detail sliders across to the right, not always with entirely satisfying results. I rate the output from color 35mm originals as suitable for prints up to A3 size.
Summary The V700 is a versatile, capable scanner with many uses and high quality output. It has been very reliable over the last 4 years with no operational problems. It is easy to use. When working it makes a cacophony of sounds like the haunted house at Luna Park, all of which appears to be quite normal.
If my collection of film images was mainly of 35mm color negative or transparency type, I would seriously consider getting a dedicated 35mm film scanner. Otherwise the V700 does a very good job.
Tidak ada komentar:
Posting Komentar